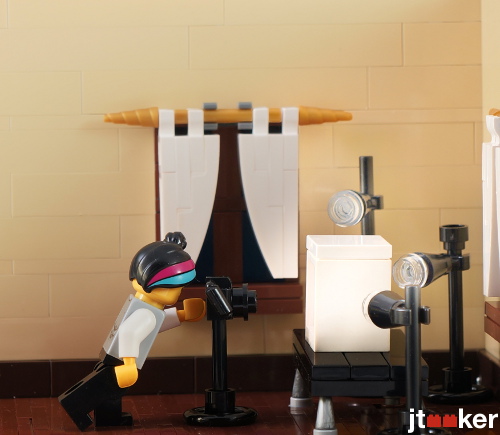
LEGO Photography 101
This post is from a presentation I did for my LUG. It covers the basics of taking quality photos of your MOCs so others can appreciate your creations. Tyler Clites also has a nice tutorial.
|
Contents |
Equipment
- Camera
- Tripod
- Lights
- Daylight LEDs
- Light Diffuser
- Tent
- Umbrella
- Copy paper
- Backdrop
- Use one that contrasts with the MOC
A quick and cheap way to get a good setup is to order a lights and a tent from Amazon. I recommend this $40 kit that comes with two lights, a tent and several backdrops.
Lighting
- Lots of light
- More light
- Temperature of 6,500 K is best
- Diffuse light
- LEGO is too shiny
- Wight background tip: try to light it separately (hard)
- Mind the reflections
Camera Setup
All of these tips are for static (non-moving) MOCs. As far as photography goes, these are pretty easy. The hardest part is limiting the reflections off the LEGO bricks (but this is a lighting issue, not a camera issue).
- Tripod + Delay/Remove
- Stability is key
- Even pressing the shutter button will move the camera
- White Balance
- Especially if lights are not daylight
- Manual Focus
- ISO
- Lower is better (I use 100)
- Aperture
- Technically this is the amount of light allowed
- Practically, this controls depth of field
- Shutter Speed
- I adjust this last
- I often need over two seconds
- I rarely use the flash on the camera (use a diffuser if you do)
For your first photo shoot, I would recommend allowing two hours, especially if you have not used the manual settings of your camera. After the first one, they go quicker with practice. I can set everything up and take photos in 15 minutes now.
Photo Editing
Photo editing is worthy of its own article; I will just cover some basics.
In general, the better your photos are, the less you have to edit. At the least, cropping photos is almost always necessary. Always zoom out a bit more than you need when taking photos.
I recommend the following programs:
- Gimp (a free photoshop replacement)
- Cropping
- “Healing” tool to remove dust
- Watermark
- Nik Collection (free)
- Especially Viveza for ‘removing’ backgrounds and adjusting lighting
- Adobe Lightroom
Photo editing can easily take much longer than the photography itself. Again, give your self at least two hours the first time.
Summary
Having good lighting and using a tripod are key to taking good pictures of your MOCs. Nice pictures are key to showcasing your creations to others and getting noticed by the online LEGO community.
LEGO, LEGOLAND, DACTA, DUPLO, PRIMO, FABULAND, SCALA, TECHNIC, MINDSTORMS, and ZNAP, etc. are trademarks or registered trademarks of The LEGO Group, which does not sponsor, authorize, or endorse this site.
